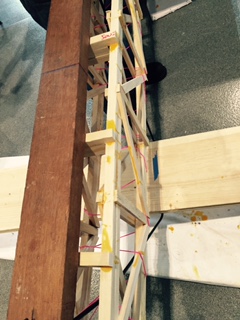
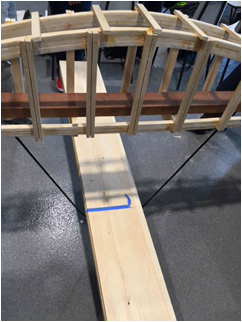
In Engineering Design today my team and I tested our bridge. When we went to weigh our bridge the first time Mr.Ramos accidentally doped it so we had to think of another plan. We decided to turn it into a suspension bridge and test it upside down putting the weight on two widespread points. It worked and we are planning on breaking the record.
This is a Mag-Lev train that Mr.Ramos had built. His is very good and somewhat fast. Mr.Ramos allowed us to view his train for us to get an idea of how we can create our trains.
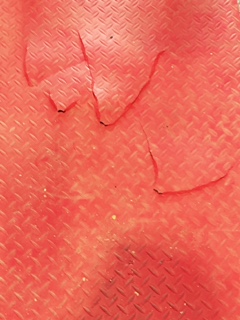
Today in Engineering Design M.D. accidentally ripped the red mat. The red mat is still in use and will continue to be used.
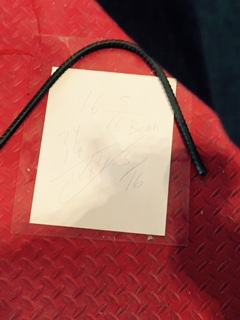
Today in Engineering Design we didn't work on our regular projects. Mr.Ramos was feeling generous and gave us all an opportunity to get extra credit points. What he had us do was bend this piece of re bar, who ever bent it the most received the points.
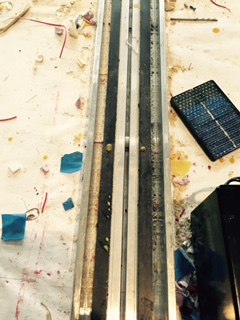
This is the track that I will have my Mag-Lev train on. It will be powered by electricity which is connected to motors which propel the train.
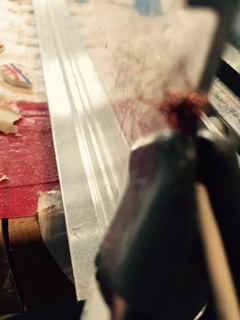
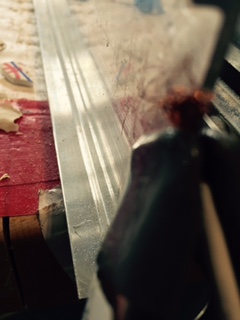
This is a picture of the wire that electrifies the track. Without this we wouldn't be able to do this project. I'm starting ideas for my own train and plan to start some models.
I have drawn out some models and I feel this one is the best out of them all. It was approved by Mr.Ramos and I plan to start building tomorrow.

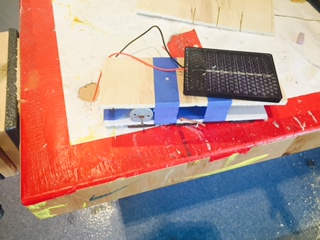
This is a picture of the electronics box that controls the electricity of the track. This is important because it controls how fast our trains will go.More electricity=More speed.
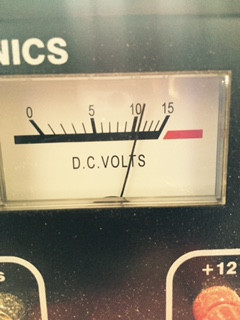
This is the main meter on the electricity box. This shows you how many volts are being run through the track. This meter only works if something is using the electricity in the track.
Here is one of my designs. So far its the fastest one in the class, however, go big or go home! I will continue to make improvements and make it faster.
This is a picture of Billy's bridge that broke. They made the mistake of using weak wood and not gluing the wood properly. They decided to sign the board of failure instead of try again.
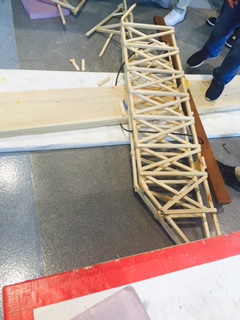
This is another one of Billy's bridges that looks good. This one is thick and I'm very surprised that its not over the weight limit. It supported its teams weights and they signed the board of sucess.
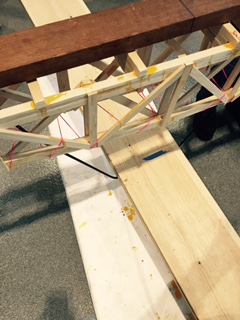
This is the last bridge in our class and they're testing their bridge like we had tested ours. Upside down. They passed and signed the board of success.
I decided I wanted to show you the finial product of my Mag-Lev train, signed by Mr.Ramos before I showed you my steps I took.
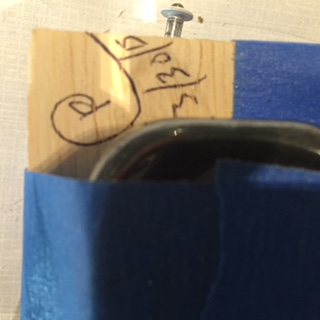
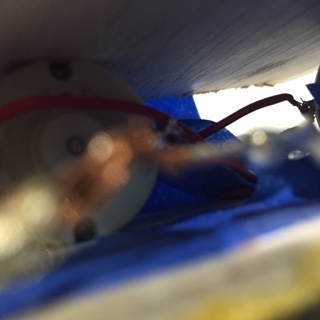
This is one of my motors on my train. I glued this white cap on it to give the rotor a bigger surface area. This lets there be more friction and thus more speed will be achieved.
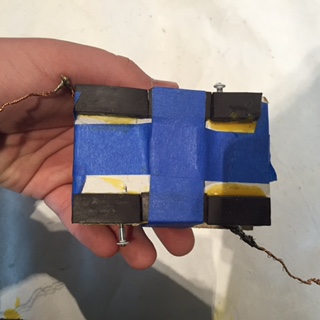
This is the bottom of my train. Besides the tape you see, you see black magnets which levitate the train off from THE BOTTOM of the track, not the sides.
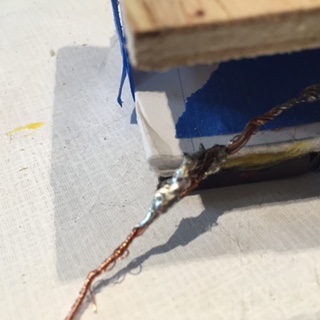
Here are the wires responsible for supping my motors with power. I made them extra long and so this way it could carry a larger current to the motors.
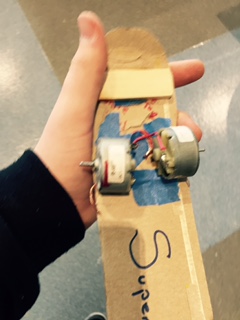
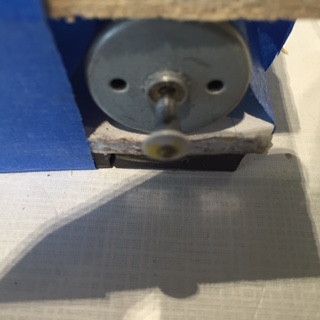
This is an inside view of my motor setup. The way i have the motors set up is setup so I had to make the least amount of connections as possible.
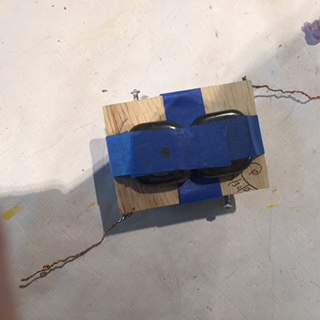
Here is a birds eye view of my train. The magnets on the top were brought from home and so Mr.Ramos allowed me to use them. They are used to counteract the use of the magnets on the bottom, adding weight to provide more friction.
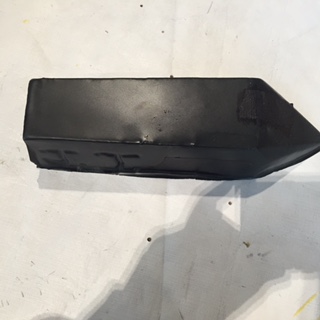
This is my finial shell of my train,I have yet to create a way to attach it to my train but I'm sure I will find a way at some point.
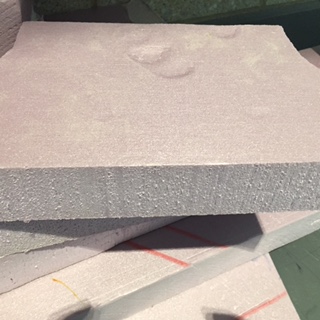
This is a picture of the foam I used to create the mold for my shell of my train out of.
We had a sub today and so we read our Engineering textbook.
We had a sub today and so we read our Engineering textbook.
We had a sub today and so we read our Engineering textbook.
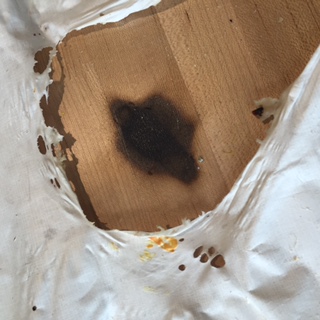
Here is a burnt piece of workbench that Billy accidentally burned using the heat gun. I think Mr.Ramos should go over the safety and protection rules again with Billy.
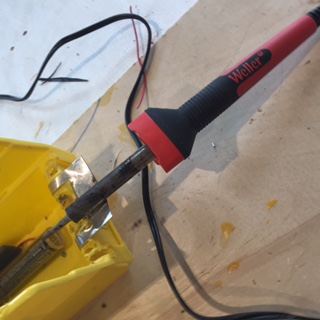
Here is a picture of a soldering iron that Mr. Ramos showed us how to use. We can use this to perminately secure our wires to our motors.
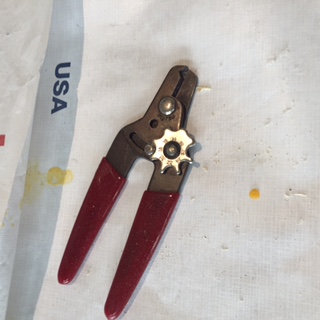
These are wire strippers, unfortunately I had only discovered these after I had did my wires the wrong way. If I had these it would have made my job so much easier.
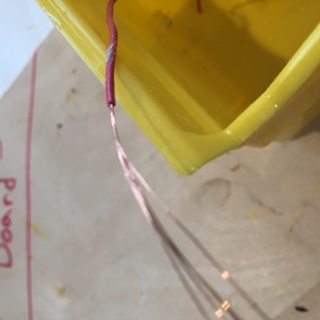
This is an example of how effective the wire strippers are on the wires.
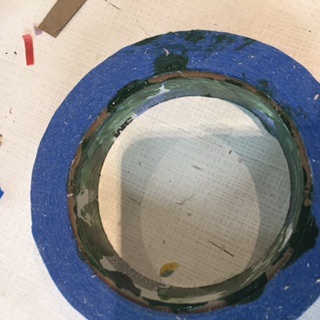
This is the official blue tape that I will be using on my train. I feel more secure using this blue tape then the velcrow supplied by Mr.Ramos.
This is the last picture of Term 3 and will be my first picture of Term 4. Mr.Ramos gave us a test to draw 3D objects since our drawing skills are important as Engineers. However this grad will be for Term 4.
